I found this recipe in the August 2009 Family Fun Magazine. I’ve kept it this whole time hoping that someday I would have the time and energy to play with the recipe and make it Gluten Free. I finally did and it was fabulous!!!
Here is my version (for the original version like here)
For batter:
6 tbsp butter
1/2 cup milk
1 cup Bob Red Mill Gluten Free Flour mix (I also added 2 tbsp flax seed and 1/3 cup soy)
1/4 tsp Xantum Gum
1 1/2 tsp baking powder
1/4 tsp salt
2 eggs
3/4 cup sugar
1/2 tsp vanilla extract
For topping:
6 tbsp butter
3/4 cup brown sugar
6 maraschino cherries ( didn’t have any so I skipped them)
1 (20 ounce) can pineapple rings (save the juice)
Step 1: Heat oven to 350 degrees. Place the butter and milk for the batter in a small saucepan over medium heat. Warm the mixture, stirring occasionally, until the butter melts, then transfer the mixture to a small bowl to cool.
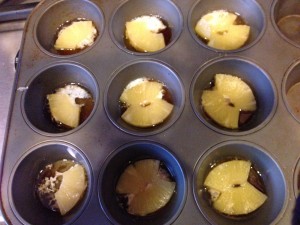
Step 2: Meanwhile, prepare the pineapple topping. Into each cup of 12-cup muffin pan, add 1/2 tbsp of unmelted butter, then evenly sprinkle 1 tbsp of brown sugar over the bottom. Place the pan in the oven until the butter melts, about 3 minutes.
Step 3: Halve each maraschino cherry, then cut the pineapple rings into quarters. Place a cherry half, sliced side up, in the center of each cup and lay a pineapple quarter on each side. Press the fruit gently down into the butter-sugar mixture, then set the prepared pan aside.
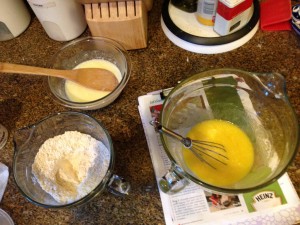
Step 4: Finish making the batter. In a medium-sized bowl, combine the flours, Xantum Gum, Flax seed, baking powder, and salt, and stir the ingredients with a fork until they are evenly blended. In a large bowl, whisk together the eggs, sugar and vanilla extract until smooth.Add the flour mixture to the egg mixture and stir until the flour is fully incorporated. Add the milk-butter mixture and stir well to combine the ingredients into a smooth batter. I also added a little bit of the pineapple juice. Just enough to give the batter a pineappely taste. (so like 1 small pour)
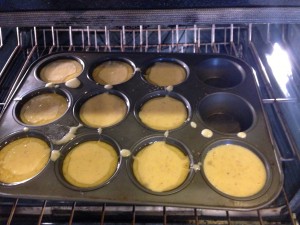
Step 5: Pour the batter into the muffin pan, dividing it evenly among all the cups. Bake the cupcakes until they are lightly browned, dry around the edges, and pulling away form the pan a little, about 25 minutes.
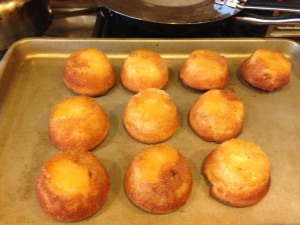
Step 6: Transfer the pan to a rack to cool for 5 minutes. Use a butter knife to carefully loosen each cupcake form the edges and bottom of pan, then place a cookie sheets over the top. Invert, the pan, turning the cupcakes out onto the cookie sheet, then transfer theme back to the rack to cool completely. Serve the cupcakes at room temperature.
So Yum!
I also froze a couple of them and reheated them and they still taste great.
I am sharing this recipe on Gluten Free Wednesdays.
Ligia


